So after living in Scotland for a year, I am finally home and surrounded by my nail polish collection again! Not only that, I now have all my nail art stuff - the brushes, the stars, the diamantes, it's fantastic. Plus, I am back with my ice cream maker, so hopefully there will be some ice cream posts again at some point.
But this week's nail design...
I based this on something one of my friend's posted on my facebook wall - I have a few people now who find nail polish designs and then tell me about them, generally via facebook. This particular one was instant love on my part - all you do is paint a couple of bright colours on your nail, then put some nail art tape in an interesting design over the top, making sure it goes over all the colours, then you paint it with a black nail polish, and peel off the tape, to reveal the bright pattern underneath.
This appealed to me simply because when I was a young child (a very long time ago now), my favourite thing to do was to get some bright colours, colour a piece of paper, completely cover it with black crayon and then get a coin and draw patterns in it to reveal the bright colours. Loving the idea so much, I decided it was the perfect thing to do to celebrate my coming home.
I made a few minor changes - as I had never tried this before, I decided to use only one colour on each nail, instead of several. This also solved the problem of exactly what type of underlying pattern I should have - stripes? blotches? - it was too difficult. I also knew I would want to let my nails dry as much as possible before applying the tape, to avoid the tape removing the base colours of nail polish. In the end, I left it over night as it just didn't feel dry enough - and I knew that once I had all the coats of nail polish on, there was no way my nails would dry by the time I went to bed. I think, in the end, I had a good 6 layers of polish on my nails.
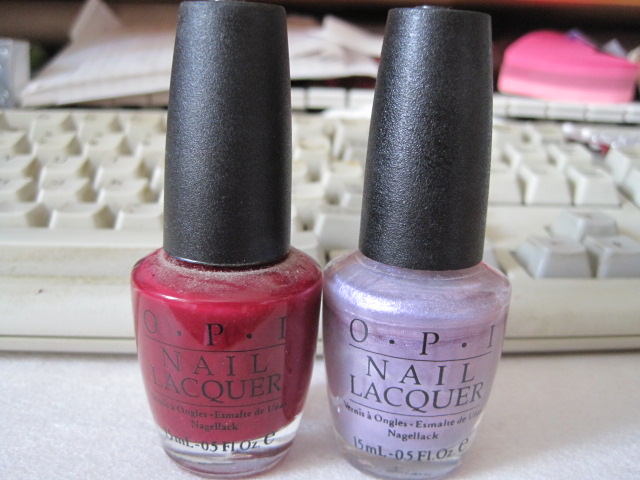
I wanted something bright, so I went with two of my favourite colours - a blue (Teal the Cows Come Home) and a red (You Rock-Apulco Red)
I decided to go with a very simple design on this hand - something I do paint a lot on my nails, just a few stripes starting from a single point.
Then I painted it with Baby it's Coal Outside (it's a sparkly black). Had to do 2 layers, as the blue was originally showing through.
Just peel off the tape and reveal - something kinda awesome.
My main problem with this design was that it was fiddly. I had tape all over my hand and it was getting in the way of things. It also doesn't stick very well, which is why I don't use it for decoration. Generally, it got very messy.
It was definitely worth it in the end. I probably would have (or should have) left the tape on longer, but I needed this hand to apply tape to my right, and the nail polish covered tape was leaving black all over my fingers.
I couldn't do anything near as fiddly with this hand, so I just went for some very simple stuff.
In the end, I actually preferred this hand
- the simplicity appealed to me.
And this is the final product - when I had removed all the mess from around the edge, and painted them both with top coat. You are currently looking at 6 layers of nail polish.
Totally worth it though - and hopefully next week I can try one of the other awesome things my friends found for me.