So I decided to paint my nails yesterday with very little idea of what I wanted. I was out most of the day before and went to bed with a massive headache. And woke up with it too. So I hadn't really had the time to devise anything. Sometimes I have it planned a week in advance, but usually, if I want to do something fancy, I have it worked out the day before. But yesterday was just impossible.
I sat there this morning, thinking about what I wanted to do. Rifling through my memories to see if there was anything I could use. Colour isn't usually an issue, because, with the exception of Emerald green, I can do most shades, or pretty close. My lack of Emerald is the downpoint of my nail polish life.
On Sunday, I was at the Ekka - or the Exhibition to those not from Queensland or Australia. I went on a bit of a whim - I haven't been since I was in single digits, and even then I only ever went for the showbags, as rides have never held an attraction for me. But I have fond memories of wandering around with my brothers and my uncle, with my arms tired from carrying showbags, as we (or possibly I) did insist on getting them first. The logic being, of course, that if we didn't get them first, they might sell out. But when my middle brother started going with a mate, he used to take my list of showbags and buy them for me. And after Sunday, I feel I should probably thank him because I had no idea it was such a struggle.
Though maybe, 20 years ago, it was less so.
The whim was caused by the fact that I am moving overseas in a few weeks. Not permanently, but long enough to make me want to do something really Brisbane-y. Something that just screams childhood memories and 'things you can only do at home'. And among all the things I looked at were the cakes! Or, to be exact, the icing.
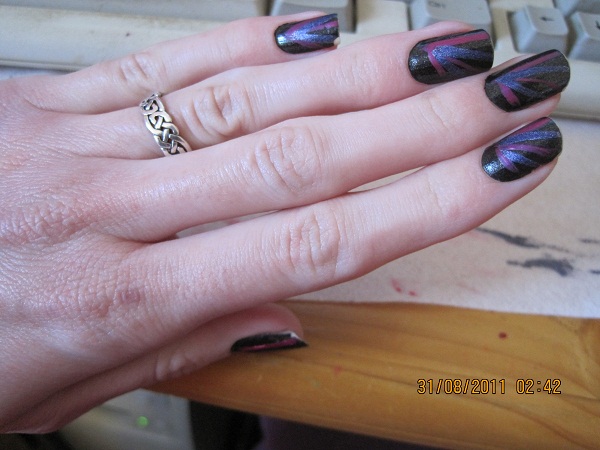
And that, in the end, was the inspiration. I saw a lot of cakes that I liked - a few, particularly, in white and black. But one of my favourites, and possibly the most easy to reproduce, was one in dark brown and light pink. It had stripes, it had flowers, and the colours just worked so well together. Funnily, though, they were the colours that could give me the most problems. Light brown and dark pink, fine, I have many. But dark brown and light pink, not so much. I trawled through my polishes - and I really mean trawled - and I finally found what I wanted. Or as close an approximation as I could get.
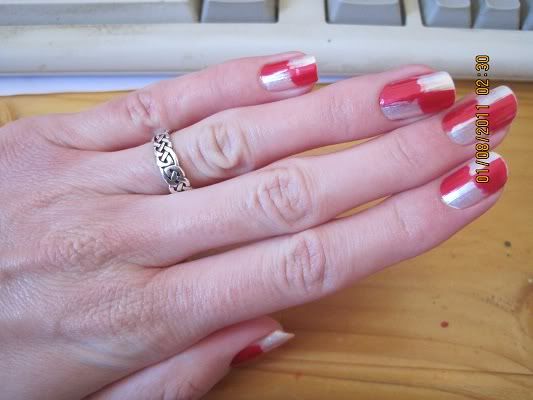
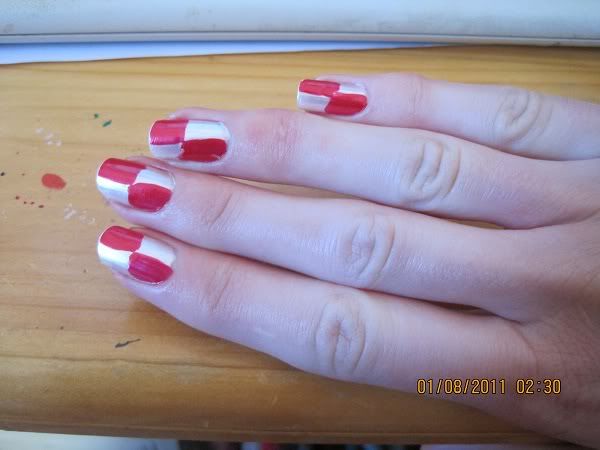
And then, the other problem was - do I just do stripes on my nails (a bit of an old favourite) or do I try for something a bit more difficult? I decided on the bit more difficult idea, which involved vertical stripes until I got to the white of my nail, which I then painted brown. Depending on how it looked, would depend whether I drew flowers or not.
And I have to say, when I finished the basics, it looked pretty awful. The fact that I was working at the same time didn't help, as I had to paint some nail and then do something else. And vertical stripes aren't easy unless you have a very steady hand. It was just a mess. So I decided to draw flowers on the tip - or at least, a flower - which is when I had my brain wave. Diamantes. I love diamantes on my nails, but I rarely use them because they're a bit of a nuisance to apply. Fiddly tweezers, wet nail polish, so there's a real chance of smudging, it tends to be a nightmare. And by the time I had decided I wanted them, my first two coats were painted and already too dry. So, in the end, my 'flowers' became 5 lines that met in the middle, and on this I pressed a diamante. And I have to say, it adds a bit of class.
Unfortunately, however, it does mean I had to take the picture when they were still a bit messy, generally, as diamantes hate staying on (for me anyway), and generally come off when I'm doing something.
I'm still a bit undecided whether they look great, or whether they look awful...


